Create New Desktop
Your DataTrak administrator creates your primary desktop.
This desktop will be the first desktop you see when you login to DataTrak.
You cannot make changes to your primary desktop. You can, however, create
new desktops based on your most frequently used items. You can display
a specific desktop at anytime by selecting it from the Desktop dropdown
list on the menu.
Use these steps to create a new desktop:
Click the New button
on the DataTrak menu, and the system displays the following screen:
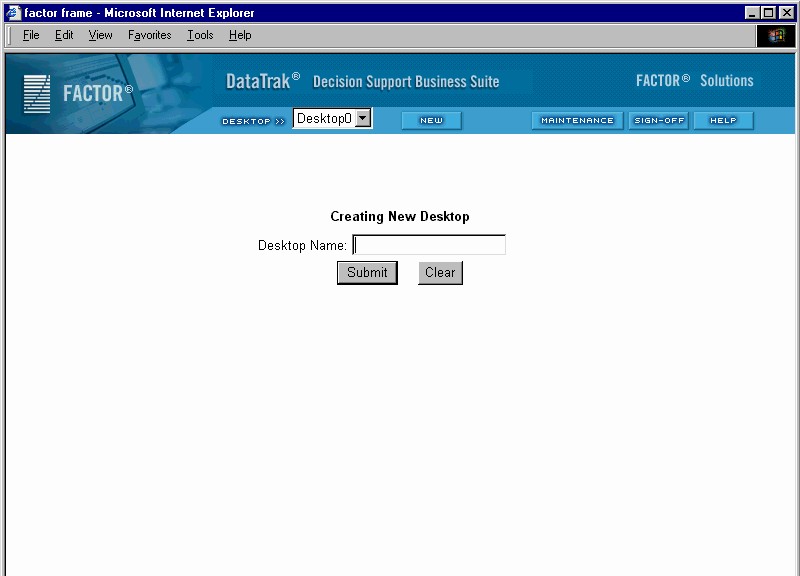
Enter the name for
the new desktop and click the Submit button.
The system displays
the following desktop maintenance window:
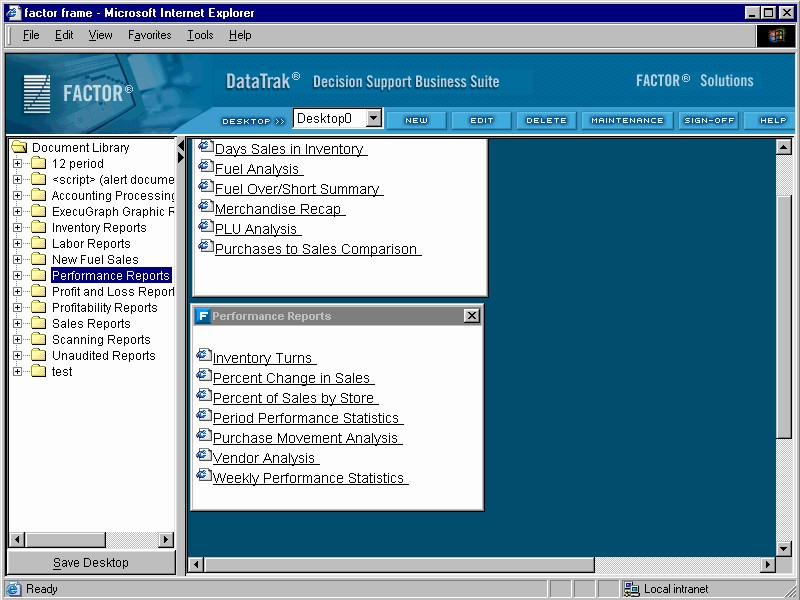
This window is divided into two panes. The pane on the left contains
the document tree. This tree contains all of the document groups and documents
to which you have access. The right pane represents your desktop area.
To add a document
group to a desktop, click and drag the group from the document tree and
drop it onto the desktop area. You can reposition and resize document
group windows as needed to create a neat and useable desktop area. You
can also create custom document
groups.
After you finish
adding items to the desktop, click the Save Desktop button at the bottom
of the document tree pane.
Note: If you make changes to a previously saved user-defined
desktop, you must "save" the desktop in order to retain the
new configuration.
Delete Custom Desktop
Use the following steps to delete a custom desktop:
Display the custom
desktop by selecting it from the desktop dropdown list.
Click the Delete
button on the DataTrak menu, and the system displays a message that the
desktop will be deleted. Click the OK button to delete the desktop or
click the Cancel button to cancel.