Display the user-defined desktop to which you want to add a custom document group. To display the desktop, simply select it from the desktop dropdown list. Remember: you cannot add custom document groups to Desktop0.
In the document library (left pane), expand the document group folder that contains the first document you want to add to the custom document group.
Click the document
and drag and drop it on the desktop area.
Important: be sure that you release the document on an unused portion
of the desktop.
When you drop the
document over an unused portion of the desktop, DataTrak displays the
following pop-up form and lets you enter the name for the document group.
Enter the name for
the document group and click the OK button. The new group will be displayed
in the desktop area.
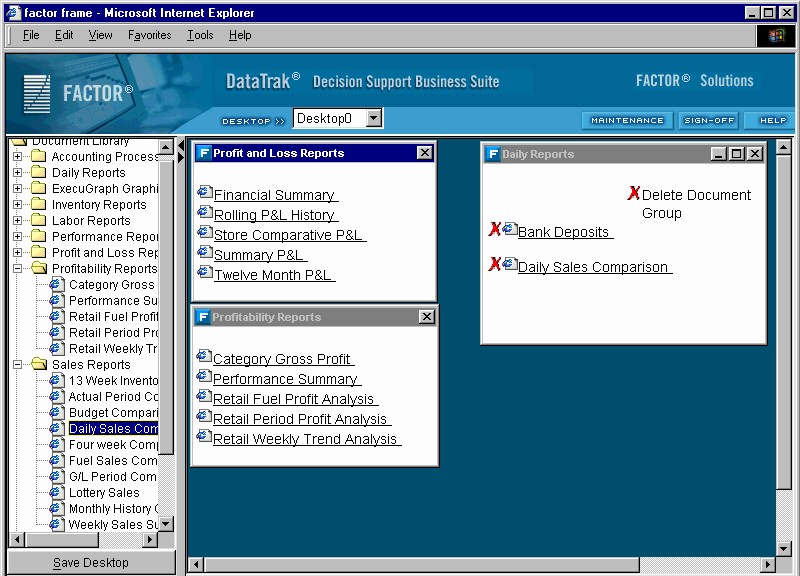
To add another document to the group, simply drag it from the document tree and drop it into the newly created group.
Click the  button to save the new desktop configuration.
 (delete) icon next to the document name. To delete a document
group, click
(delete) icon next to the document name. To delete a document
group, click  in the upper right corner of the document
group frame. Click the save desktop button when you are finished to save
the new desktop configuration.
in the upper right corner of the document
group frame. Click the save desktop button when you are finished to save
the new desktop configuration.